
How to Email RSVPs
Do not cancel the event before setting up your cancellation email
It might seem counter-intuitive to start with the email, but once you delete the event you will not be able to access the email interface to customize the message that will go out to all your RSVPs upon cancellation.
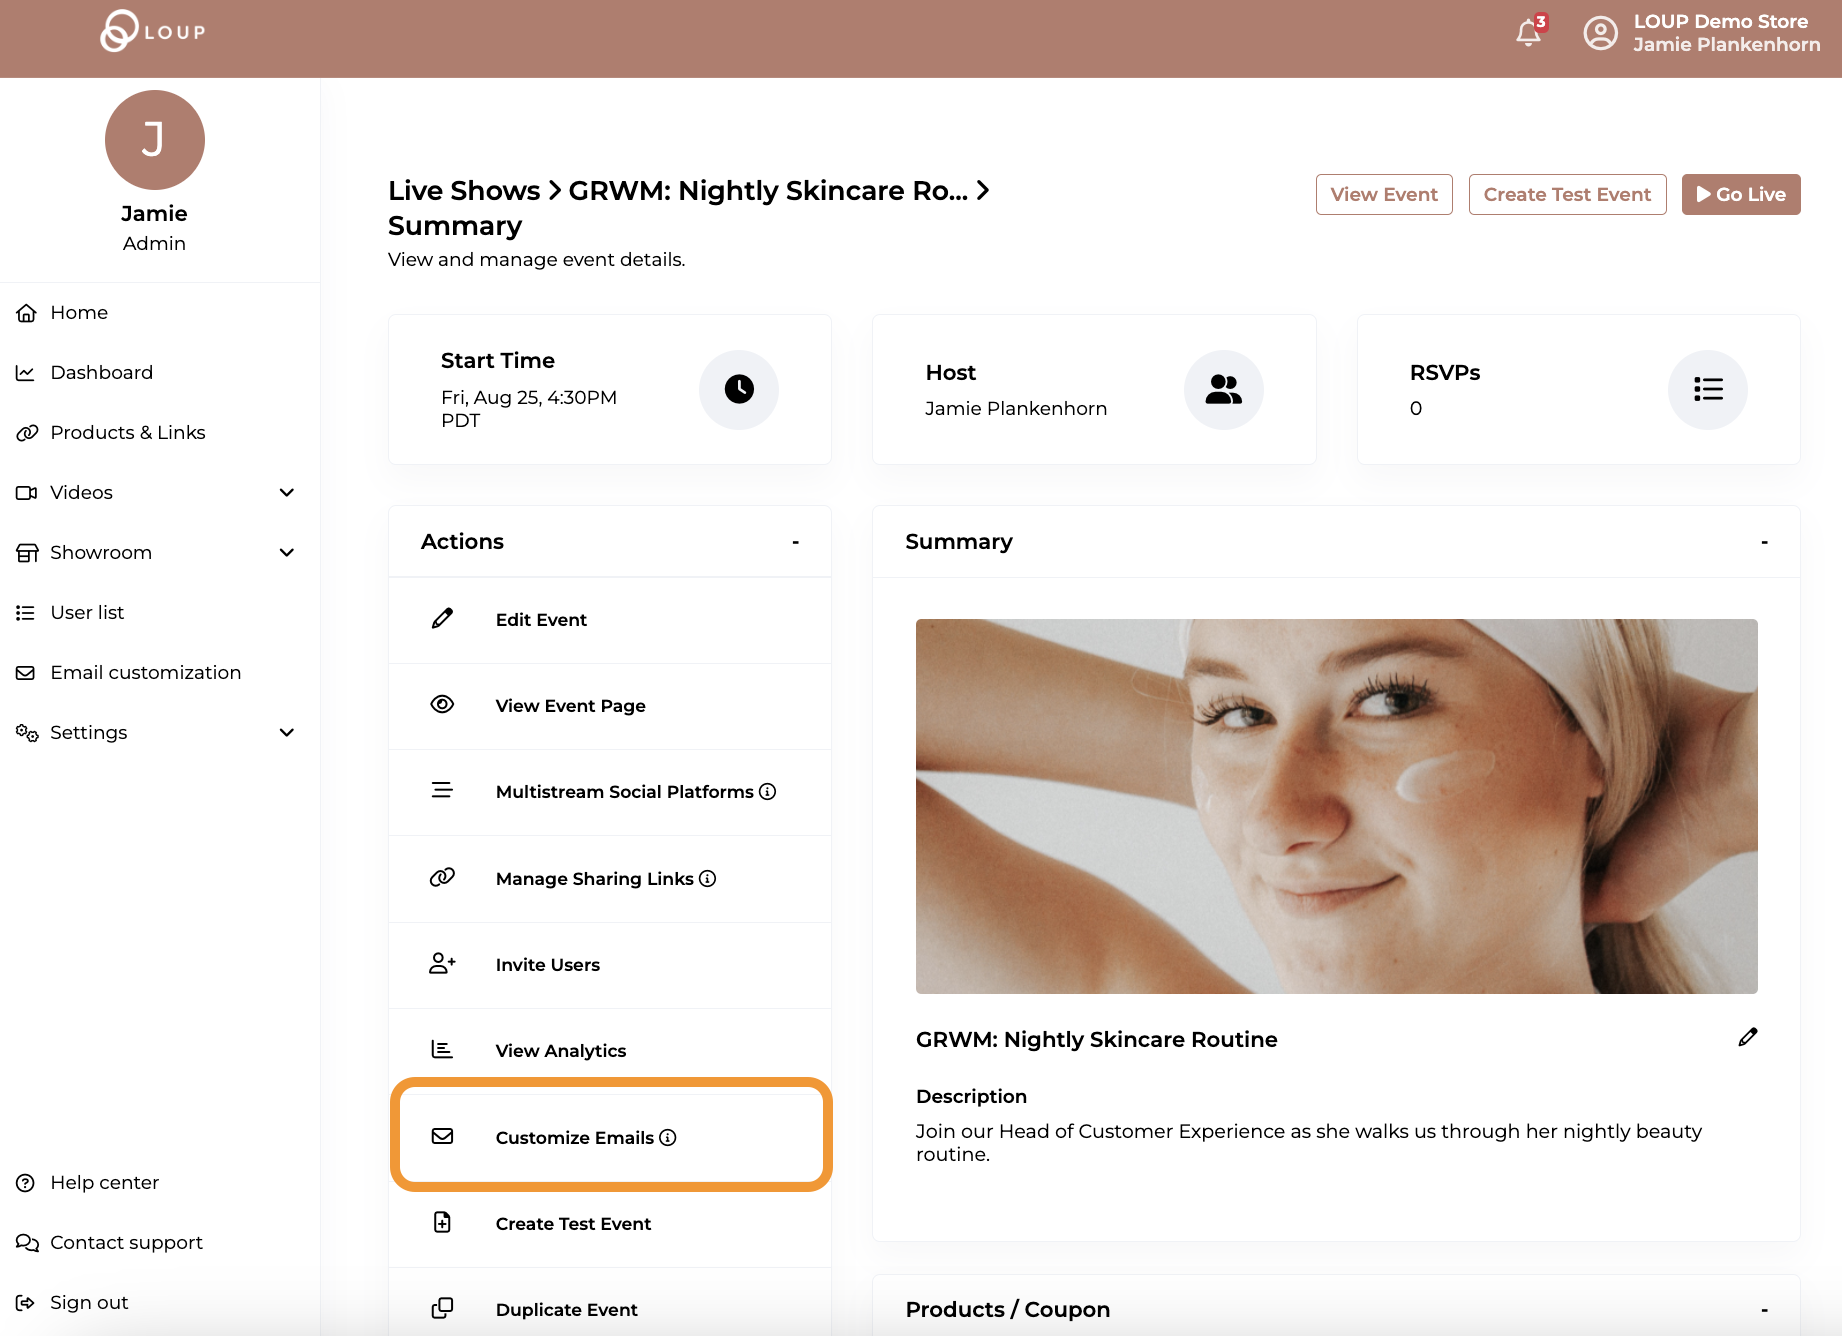
- From the summary page of the event (Videos > Live Shows > Click on the name of the event), click the Customize Emails.
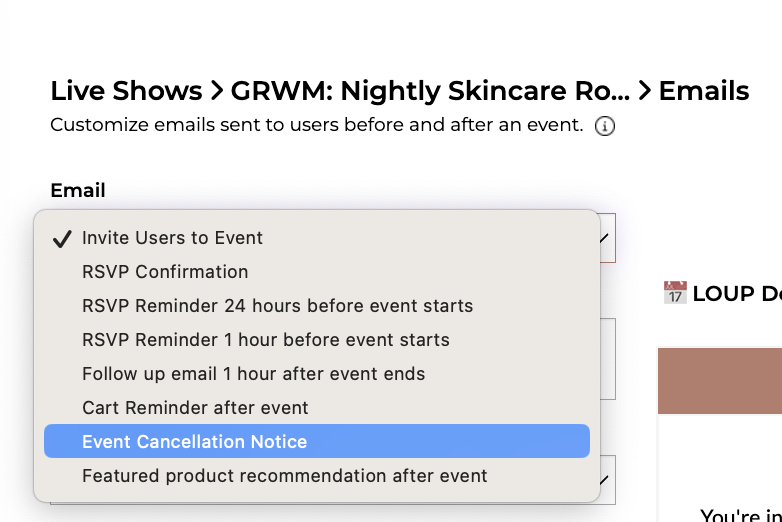
- From the Email drop down, select Event Cancelation Notice.
- By default, the email subject line and text is filled in for you. You can updated the text as you need and can also pull in a Klaviyo template if you prefer:
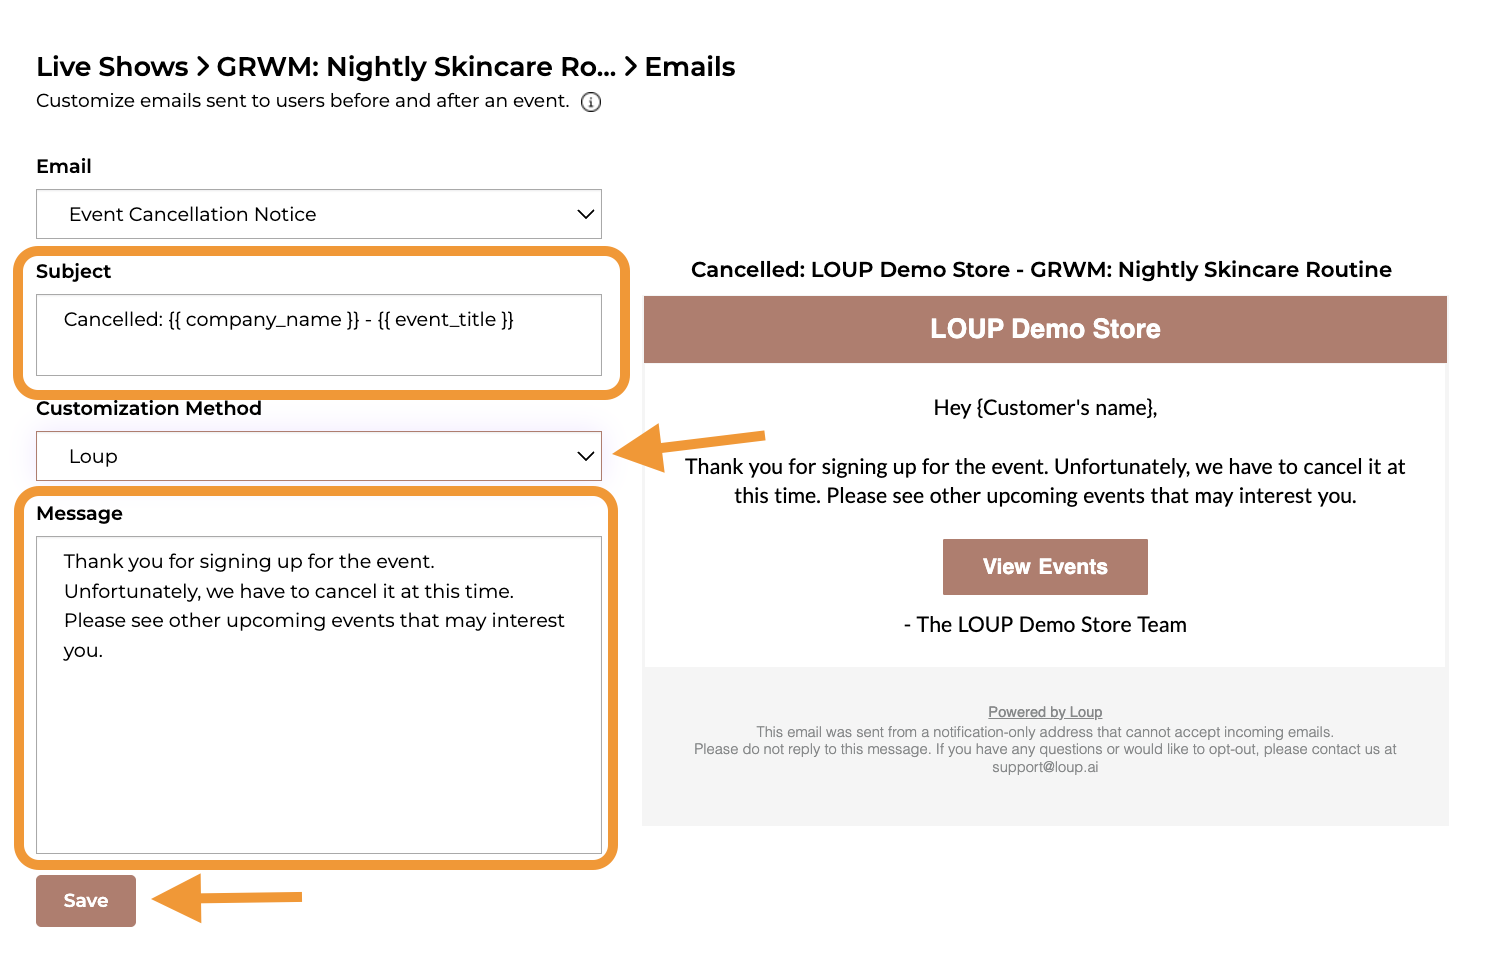
- Once you are happy with your updates, click Save.
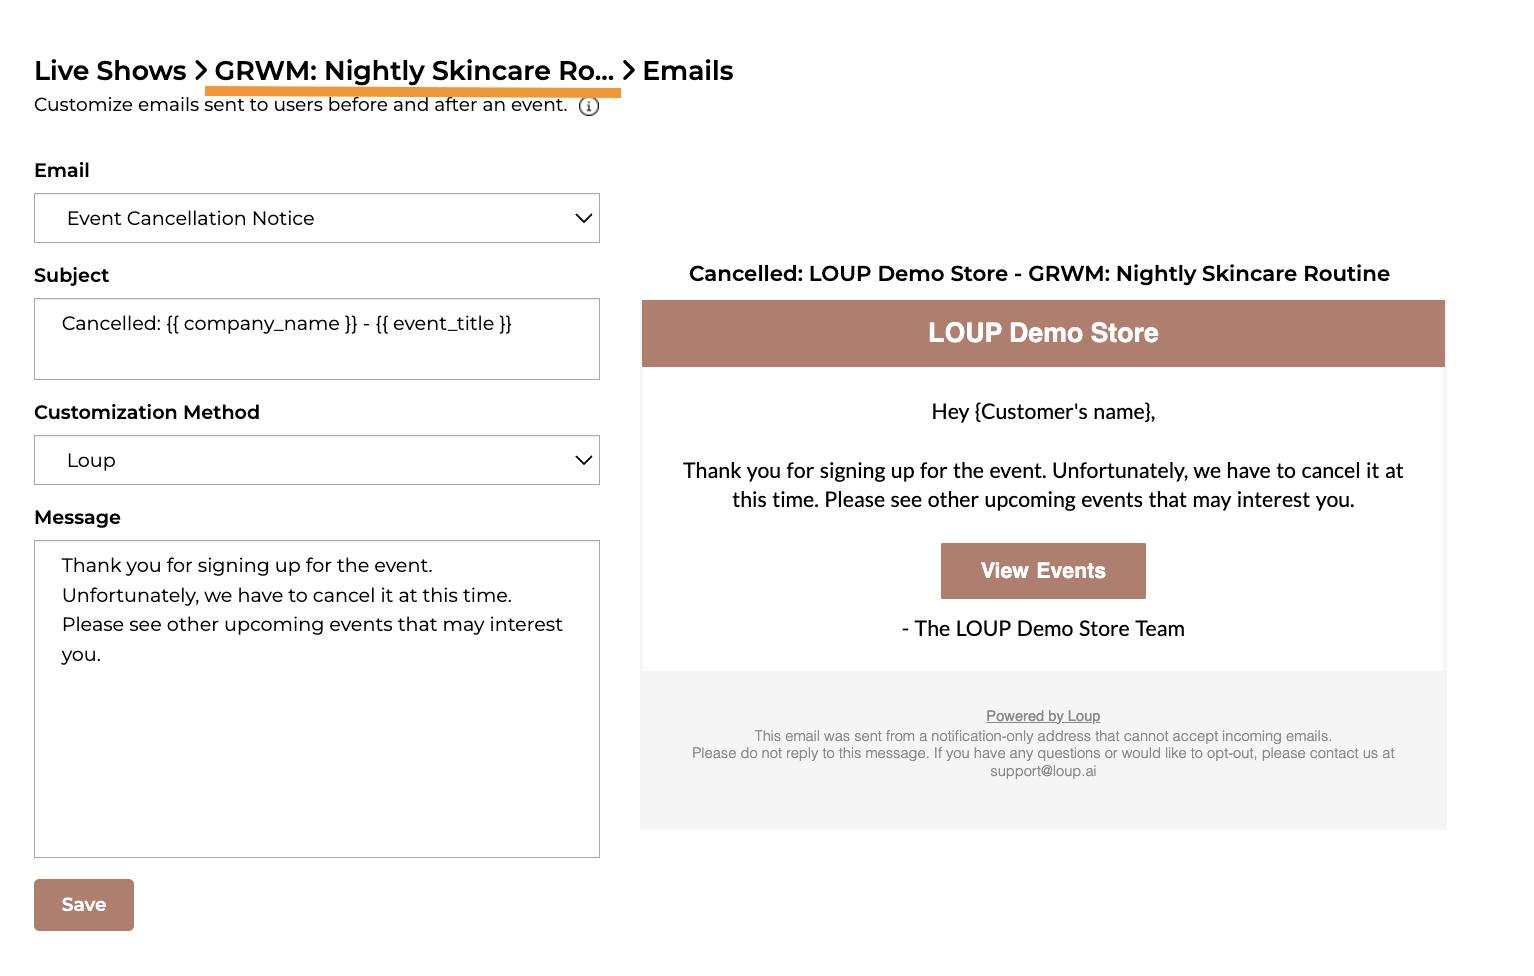
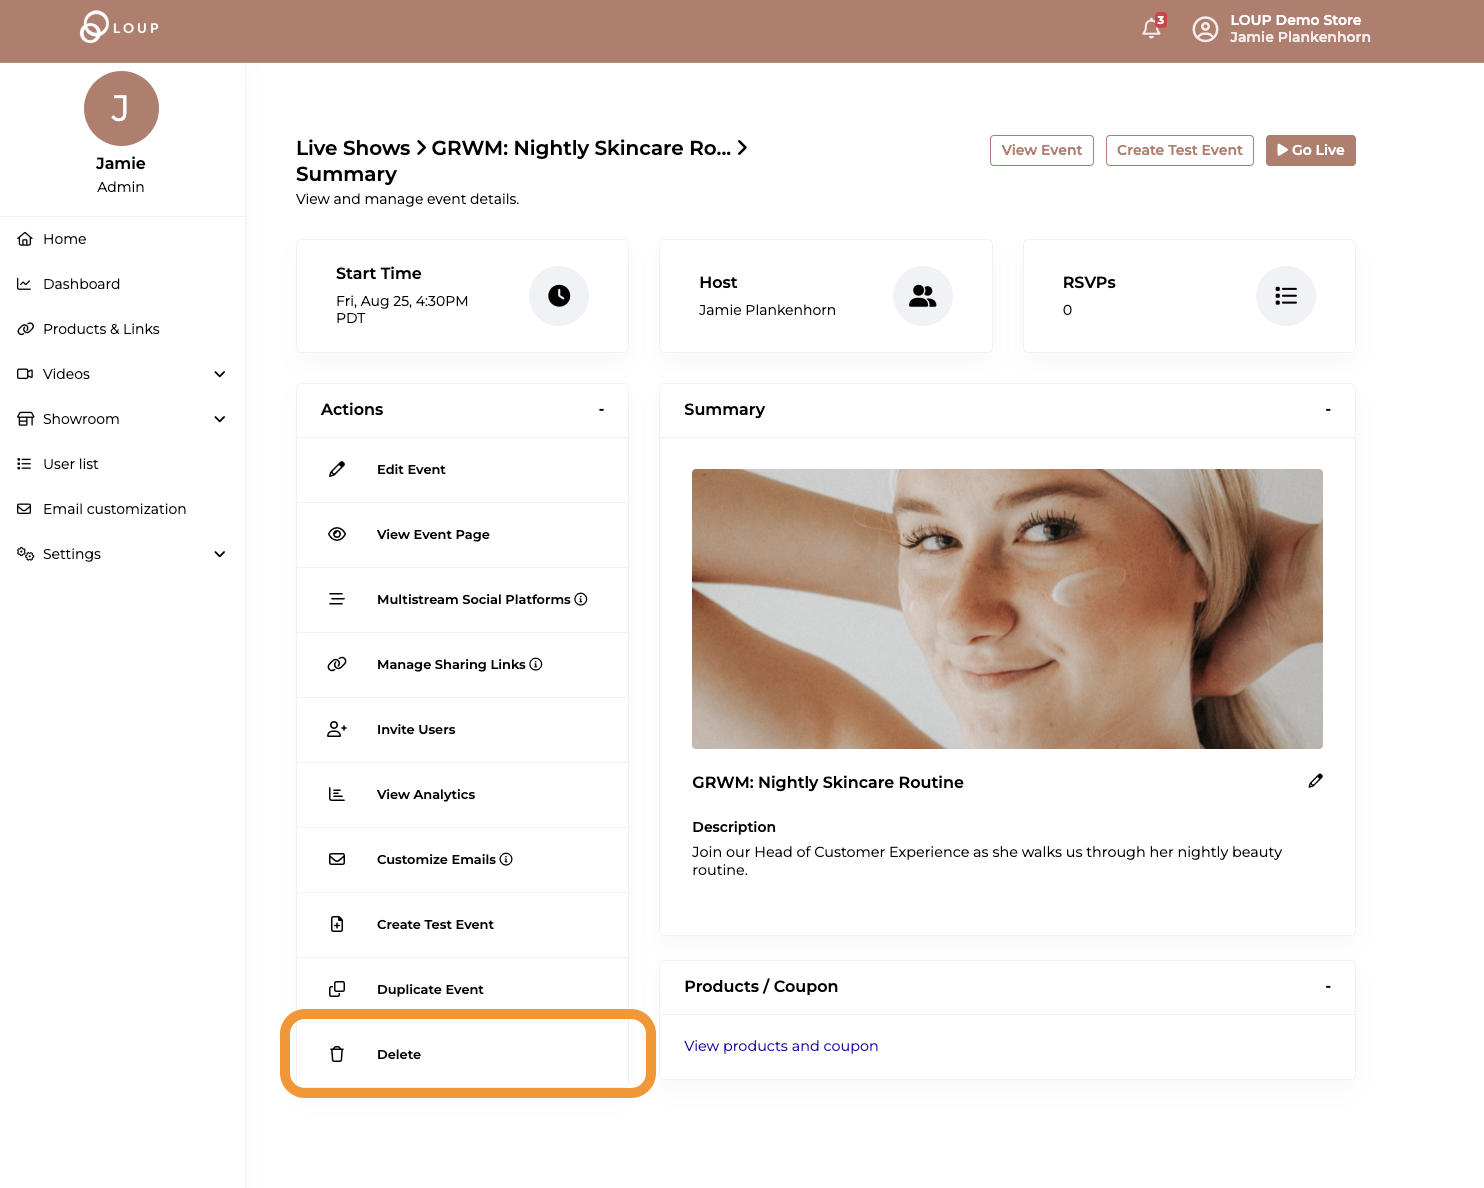
- Go back to the Event Summary page by clicking the event name at the top of the page:
- From the list of Actions, click Delete.
- You will get a pop-up confirmation asking if you would still like to delete, click Yes.
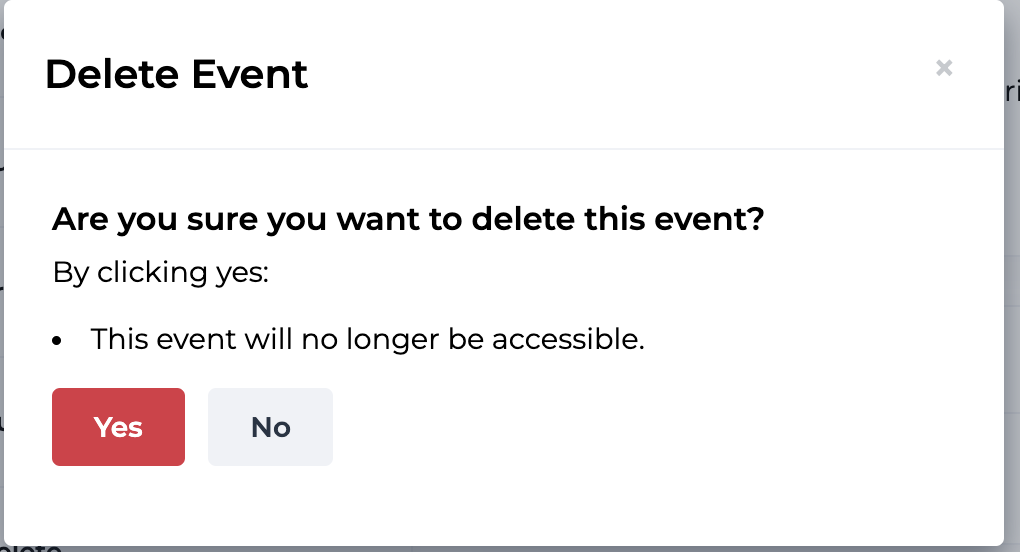
- When you cancel the event, the cancellation email you previously updated will be immediately sent to all RSVPs.